01
Review The History
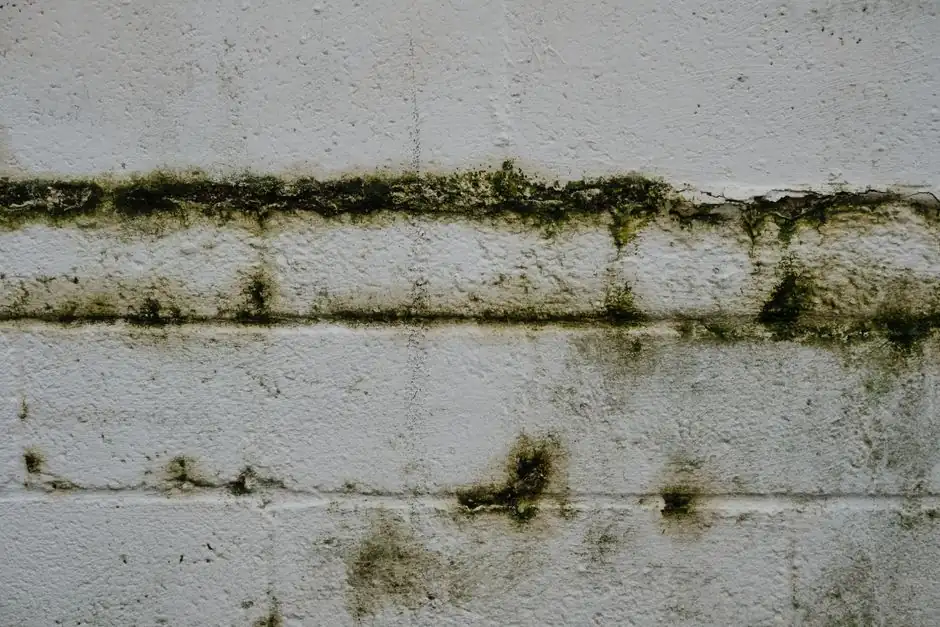
We start with the unanswered question: where the smell comes from, whether a previous leak affected enclosed material or why a stain returns. Share earlier reports, repair photographs and the areas already checked. This helps avoid repeating a test that did not address the actual concern.
02
Inspect Suspect Areas
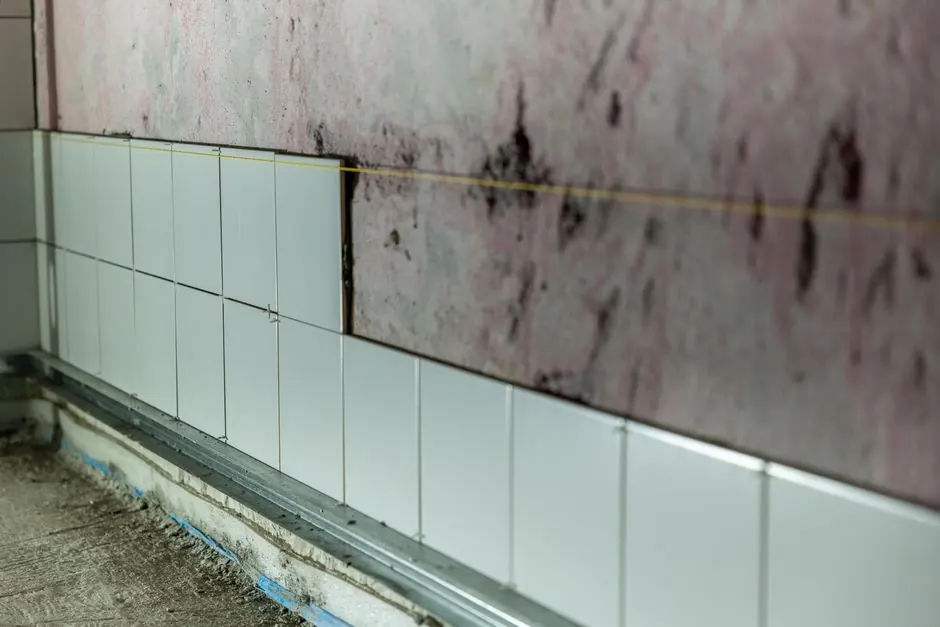
The inspection follows accessible connected areas, such as the opposite side of a plumbing wall or the ceiling below a bathroom. Prepare a safe route and arrange access with the owner or manager. Do not strip wallpaper, lift affected flooring or cut new holes to prepare for the visit.
03
Measure And Image
We compare moisture conditions and use imaging to guide closer checks where useful. Thermal imaging shows surface temperatures; it does not see mold through a wall. If a camera is appropriate, its limited field of view is considered before deciding what remains unanswered.
04
Test When Useful
Air or surface samples are selected for a defined purpose and agreed before collection. Results describe the sampled material or air under those conditions. They do not reliably pinpoint a hidden source by themselves or replace assessing the building and water history.
05
Explain Findings
We review what the evidence establishes, where access was limited and the next decision. If hidden growth is confirmed, cleanup follows a separate scope. If uncertainty remains, we explain which further check can address it rather than label the entire property clear or affected.