01
Define the testing question
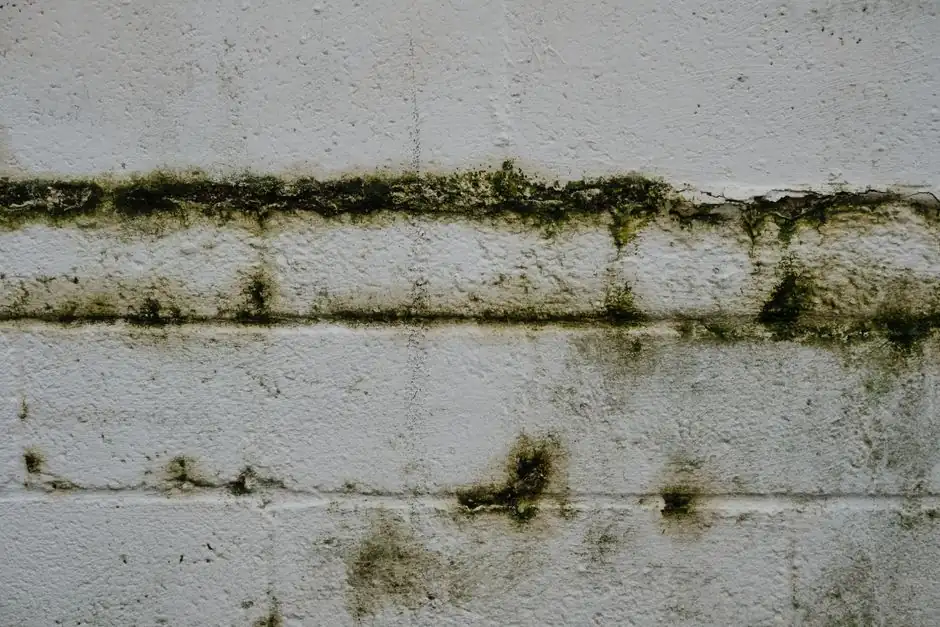
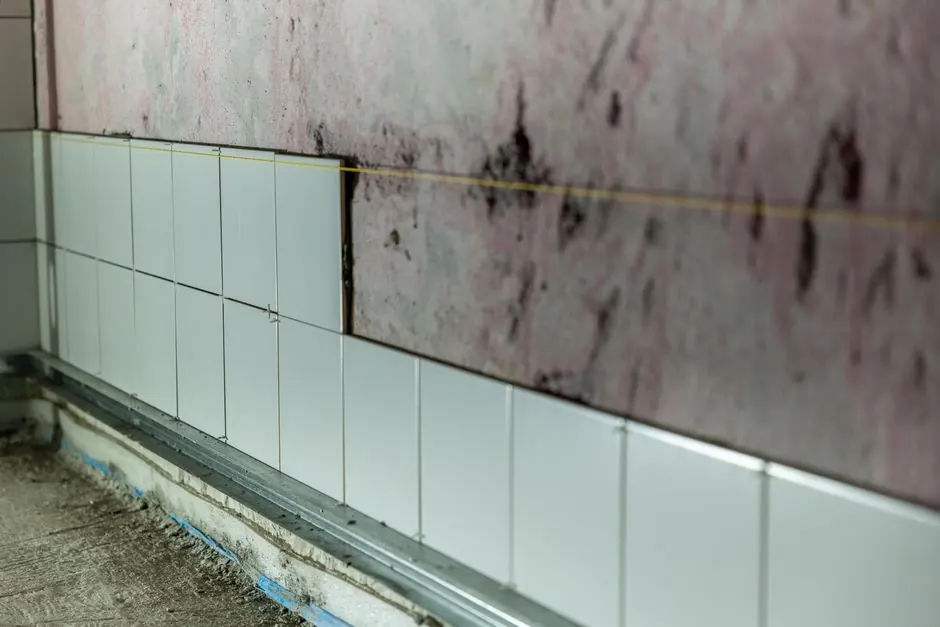
Show us the mark and explain why you need identification. Share earlier photos, leak repairs, cleaning products and previous reports. Buyers and property managers should also share any deadline or written testing requirement.
02
Prepare the area and arrange access
Keep the area accessible. Ask for preparation instructions before cleaning, painting or applying a treatment solely for the visit. Do not delay urgent leak control; tell us what changed. Tenants should arrange the required permission and access.
03
Collect, label and submit
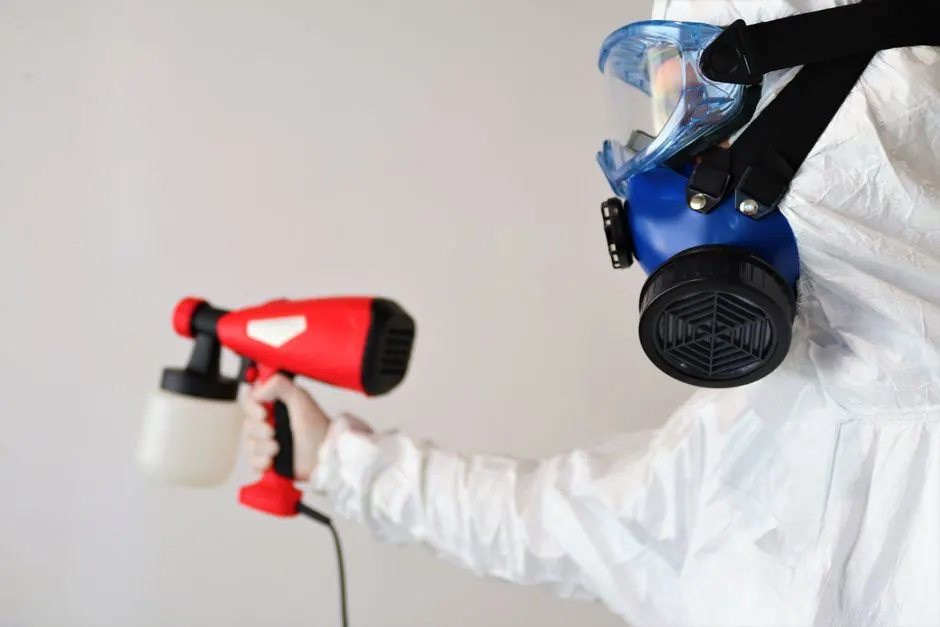
A tape lift or swab is chosen for the material and analytical purpose. We record each location and collection details, package the samples separately and submit them with identifying records. Destructive access needs a separate agreement.
04
Review the laboratory report
Laboratory processing happens after collection. Confirm the expected result date and any expedited option when booking. A same-day visit does not guarantee a same-day report. The chosen method determines how findings are described.
05
Choose the next step
We discuss whether the result changes the plan. Source correction, material condition and the affected extent still guide cleanup decisions. A finding at one spot does not establish that neighboring material needs removal, or that an unseen area is unaffected.